|
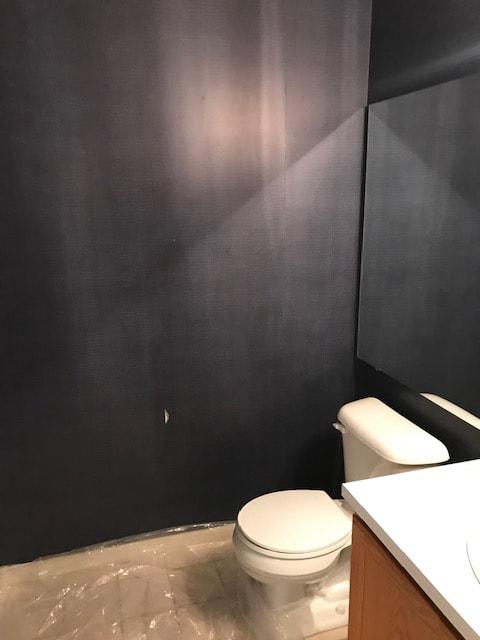
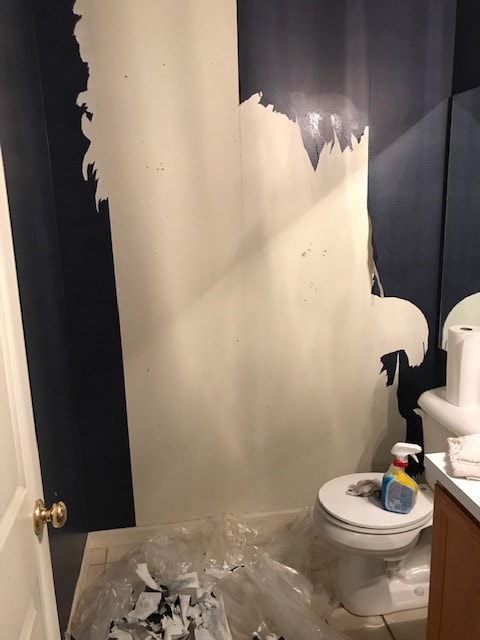
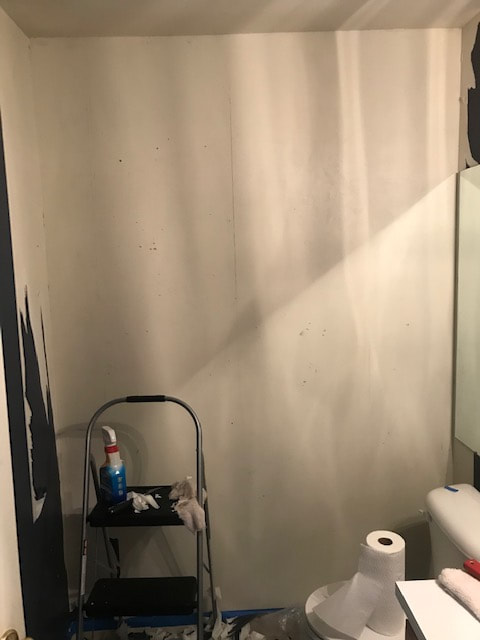
I'm back with an update on the purple bathroom! I’m halfway through removing wallpaper in the bathroom right now and hope to see the full bathroom stripped of wallpaper within the next day or so. While researching for this project, (see my first post here) I watched some Youtube videos and then pinned a few different resources on Pintrest. From my initial impressions, removing wallpaper didn’t seem to be all that difficult, but would be more time consuming and potentially frustrating. The main takeaway from the different “how tos” that I read and watched were that I wanted to mix equal parts fabric softener and water and would need to spray the wall copiously and then use the scraper to get the wallpaper off. Those were the basic steps in every source that I used. After surveying my resources, I have found the explicit instructions on to do lists to be the most helpful to me. I like to read content and I went back a few times and referenced the Pintrest pages I had saved when I was in the middle of my process. To me, that was easier than pulling up the Youtube videos and trying to find the exact time I needed and rewatching that portion. I started this project with essentially no home improvement skills, so I think it is safe to say my wallpaper removal skills have improved. However, I am definitely not an expert by any means. The first wall I did in the bathroom is pretty rough, comparatively to the one I just finished. There are a lot of dents and nicks in the wall from where I hit it with the scraper. If you look at the other walls, the marks are less and less as I got better at the scraping technique. One thing I initially found challenging was that when I was pulling the wallpaper, it was coming off in such small pieces instead of these big long strips were being talked about online. I was working around the middle of the wall and just going through a lot of my spray mixture on one section instead of making it last longer. On the first few sections It was frustrating that I was using up the spray mixture before I was done with the chunk of the wall and effectively felt that it was taking me forever to get anything done. I took a break and literally stepped back from the wall to assess the situation and decided that working from the top down would serve as a better course of action because as the mixture runs down the wall, it would coat everything else. By the time I would reach the bottom of the wall, I wouldn’t need nearly as much spray because it would have been soaked through many times already from the runoff from earlier, higher up sections. That logic served me soundly and it has been a lot easier getting sections of the wall cleared - some of them I don’t even need to use a scraper on! I have included some before pictures and some after showing the middle of my progress. The stop motion video is when I started to use my “top down” technique for the spray and wallpaper stripping motion. As you can see, it worked!
2 Comments
Katie
7/29/2019 07:05:24 am
I wonder how much time you spent doing this all together?
Rosalea
7/29/2019 03:51:35 pm
I'm happy you had better luck with your wallpaper than I did with mine! I'm excited to see the finished product. Leave a Reply. |
ArchivesCategories |
 RSS Feed
